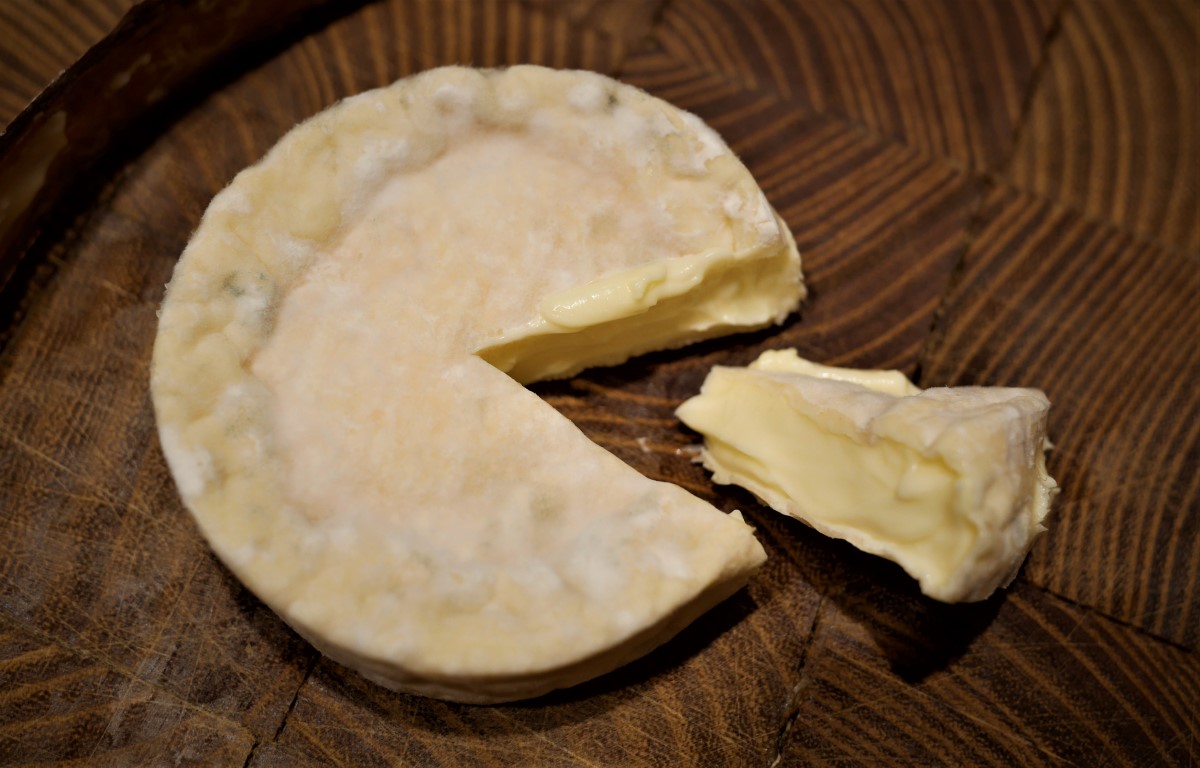
 This small soft cheese was ripened for 5 weeks.
Soft-ripened white molded cheeses (or pâte molle à croûte fleurie in French) are probably the most popular types of cheeses, camembert being the most famous of them. They are generally small cheeses, ripened for a few weeks. That means it is impossible to find any soft-ripened cheese made from raw milk in the U.S. (raw milk cheeses have to be ripened at least for 60 days to be sold in the U.S.). That is why this is one of the first cheeses I really wanted to make. You can find very good raw milk cheddars and other long-aged hard cheeses in the U.S., but you will never find a raw milk camembert.
The following recipe opens a high range of possibilities. Depending on a few factors you can vary the softness and creamy-ness of the cheese. You may learn those variations at your own expenses but that’s what make cheesemaking so fun and interesting. I will try to give you some hints though.
Making cheese generally follows the same general steps (see the introduction for more details):
- Warm up the milk and starter
- Add rennet and let the milk coagulate
- Cut/mold the curd to expel whey
- Salt and ripen the cheese
In the case of soft-ripened cheese, the curd has to keep very humid compared to other cheeses. This will accelerate proteins break and give its softness. To keep more whey in the curd, it is either cut in very big cubes or directly ladled (camembert is ladled in 5 times for instance, with a pause between each ladle). The humidity of the curd allows a rapid development of rind yeasts like Geotrichum Candidum (the white mold).
Ingredients
- 4L of milk, preferably the freshest raw milk (non-homogenized at least)
- 30ml of kefir, or 30ml of clabber or other cheese culture
- 1/4 tablet of Walcoren rennet, crushed and diluted in about 30ml of cold water wihtout chlorine (to decrease the chlorine contained in tap water just shake it and leave it rest for a while)
- 10g of fine-grained salt (preferably sea salt, and without any additive)
Material
- a big pot with a thick bottom (to keep the milk warm)
- thermometer (or use your fingers to judge the temperature)
- a ladle (or a small bowl)
- a grid or something to evacuate the whey when draining the curd
- 4-5 molds that allow easy evacutation of the whey (you can use different sizes)
- boxes and bamboo mats (or wooden boards) for ripening
For more details about the material.
Duration
- 3h to 6h to ferment and curd
- ~24h to drain in molds
- 1 to 3 days to drain after salting
- 3-8 weeks for ripening (depending on the size of the cheese, and your taste and patience!)
Method
Timings are subject to change depending on your material and the quality of your ingredients. Take care of using well-cleaned material (use white vinegar, rinse with clear water and keep it dry in the open air). Wash your hands too! Last but not least, trust your smell and your taste.
00:00
Pour the milk into the pot and let it warm up very gently until it reaches ~32°C. If you use a gaz ring with a diffuser, take into account the intertia of the diffuser.
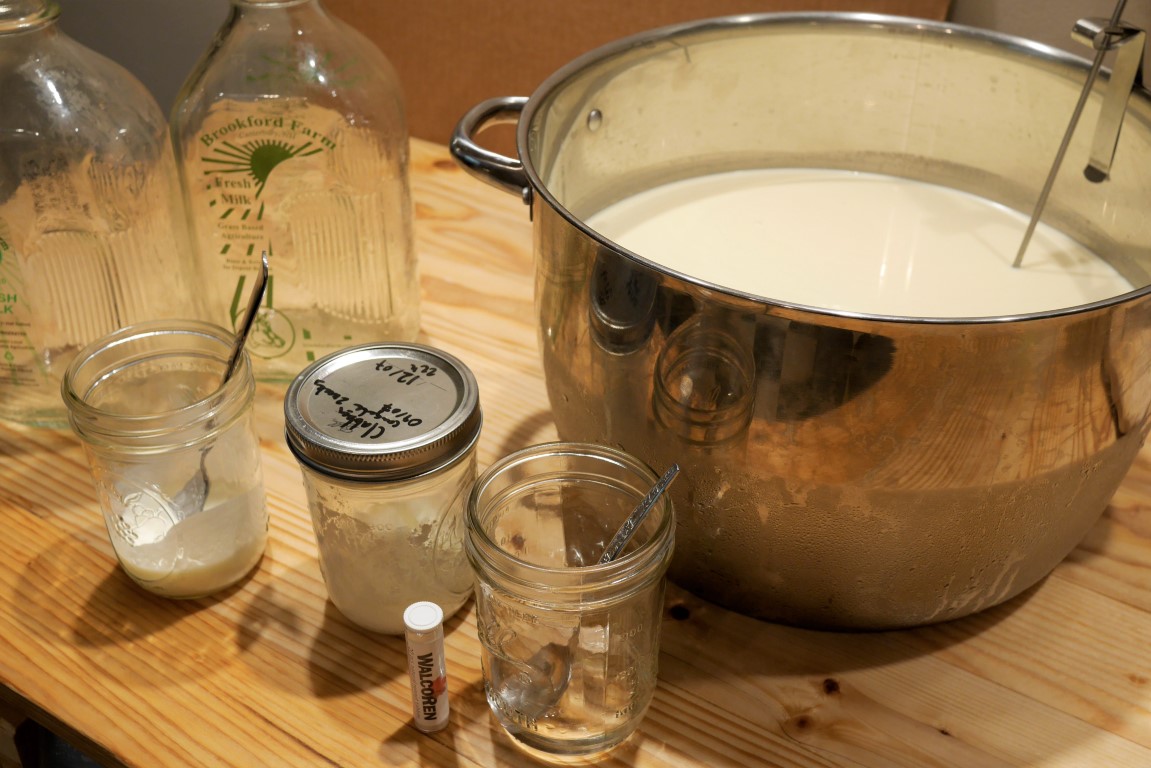 This is all you need to curd your cheese: milk, starter culture, rennet and a pot.
~30min -> ~1h30, Temperature : 32°C
Add the starter culture. Stir together from bottom to top (so that the cream does not come on top) and for at least 1 minute. Leave it ferment for about 1h. Keep the temperature to about 32°C. You can put a lid on the pan to keep it warm.
~1h30 -> ~2h30, Temperature : 32°C
The milk has started to ferment. You can now add the rennet. Pour gently and for at least 2 minutes so that it is well homogenized. Try not moving the pan after that step, so that the milk coagulates well.
The rennet will allow the milk to coagulate rapidly (more rapidly than how the milk would naturally). Given the milk quantity, its freshness and the amount of rennet, the milk is going to coagulate more or less rapidly. Try to always use the same milk to increase the chance of reproducibility and to know the best dosage of rennet. With pasteurized milk I generally use 1/4 tablet of Walcoren for 4L of milk. It is more than the recommendations of the manufacturer but I noticed that the curd was firmer with this quantity.
~2h30, Temperature: 32°C
The milk has now started to coagulate. If you move a little the pot you should see it shaking slightly like a panna cotta. Check that the curd is ready with the following test: put your finger in the curd with an angle of 45 degrees and go up to cut the curd. If the cut is clear then the curd is ready. Otherwise wait for another 10-15 minutes and do the test again.
~2h30 -> ~4h, Temperature : 32°C
It is now time to cut the curd. Use a knife or a spatula to cut vertical strips of ~4cm wide. If there is more than 4cm depth of curd you can use a wire (fold the extremities) to cut the curd horizontally. Try to cut the curd uniformly, this will help having homogeneous humidity of the curd. After cutting the curd, let it rest for 10 minutes.
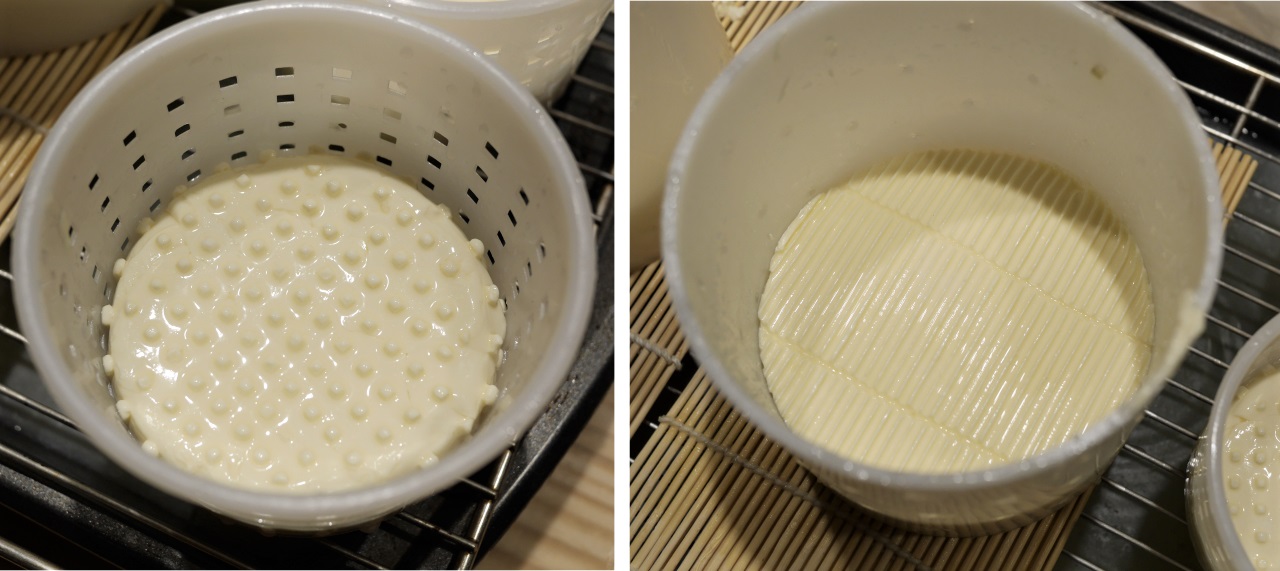
You can also ladle the curd into the molds as on the pictures below. Wait a few minutes between each ladle, so that the whey can drain. Be very gentle, the curd is fragile and soft.
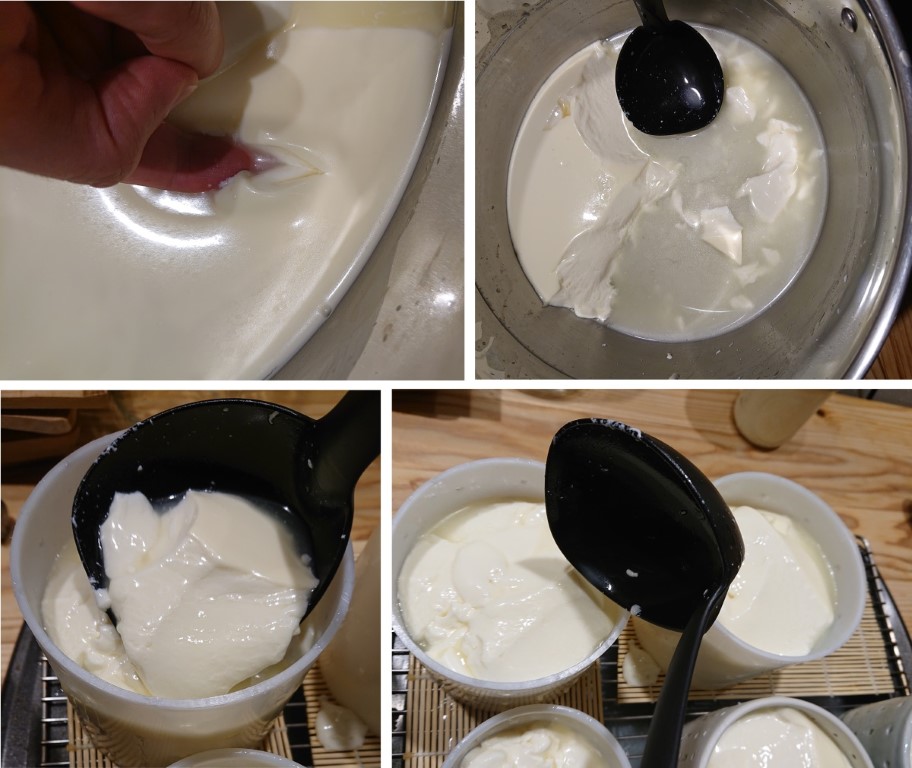 Top left: example of clean cut, the curd is ready to mold. Others: ladling the curd into the molds.
Do not throw away the whey! You can make ricotte, use it in pancakes or bread dough or even water your plants (they will regenerate!).
~4h -> ~+24h, Temperature : room temperature
The curd should have drained enough so that you can flip the cheeses in their molds. Let the cheese slide from the mold to your hand, flip it and put the mold on top and flip the mold. You can flip the cheeses a few times in their molds for the next 24h. This will make the shape more uniform and drain water more homogeneously.
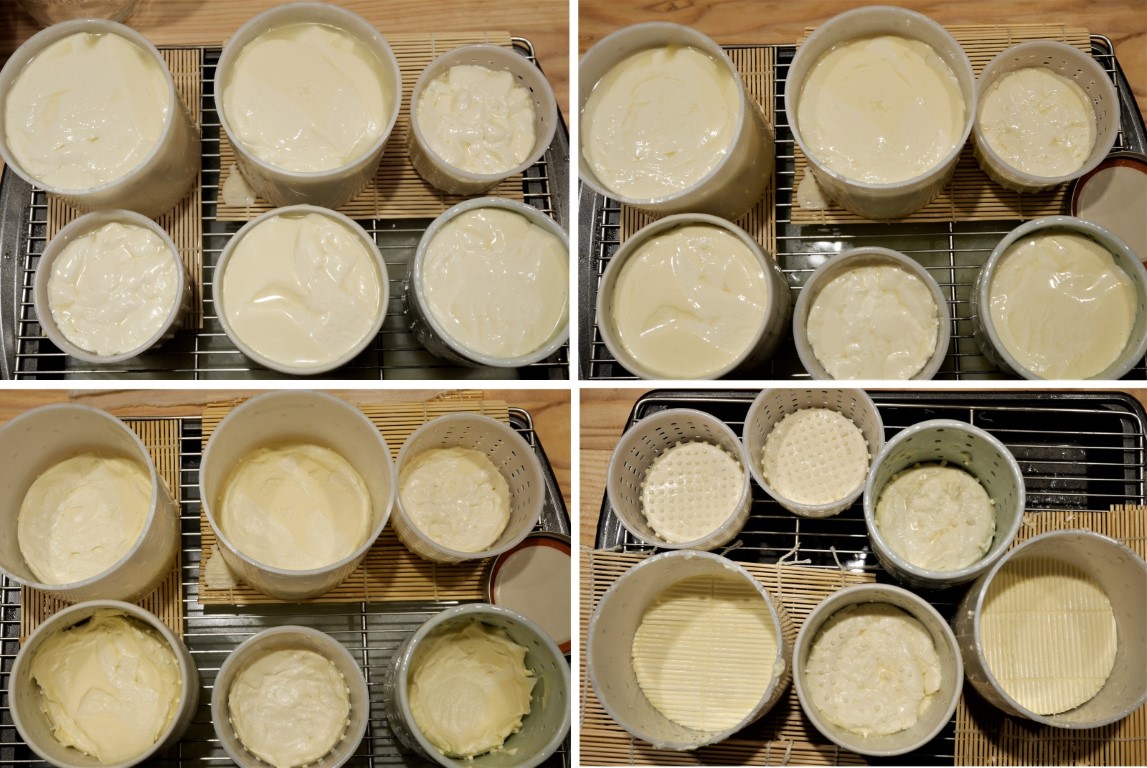 Top left: after ladling the curd. Top right: ~30min after. Bottom left: about 9hrs after.
Bottom right: cheeses flipped in molds.
Top left: after ladling the curd. Top right: ~30min after. Bottom left: about 9hrs after.
Bottom right: cheeses flipped in molds.
You can use different types of molds, but be careful to use tall enough molds. A lot of whey is going to drain, you will end up with a cheese about four times smaller compared to when you mold it.
 Cheeses just flipped in molds. A small St-Marcellin shape mold on left and a camembert mold on right (there is no bottom,
you have to use a sushi mat to drain the curd on the bottom).
Cheeses just flipped in molds. A small St-Marcellin shape mold on left and a camembert mold on right (there is no bottom,
you have to use a sushi mat to drain the curd on the bottom).
~24h -> ~+60-72h, Temperature: room temperature
The cheeses should now be well shaped, still humid. It is time to salt them. Salt will slow down the rind ripening, help extract more whey and will also give better flavor to the cheese. Measure 10g of salt and use it to salt all the cheeses. Take the cheeses in one hand, dust a bit of salt on the first face, spread with the fingers. Do the same on the sides and on the other face. Put the cheese back in the mold (if your kitchen is dry) or directly on a grid or sushi mat. Let the cheeses dry for another 12-24h (depending on your room temperature). A temperature around 20°C is ideal. If you have a cave or a garage where it is cold that’s perfect. Just cover the cheeses with a cheesecloth to avoid any flies or other insects to spoil the cheeses.
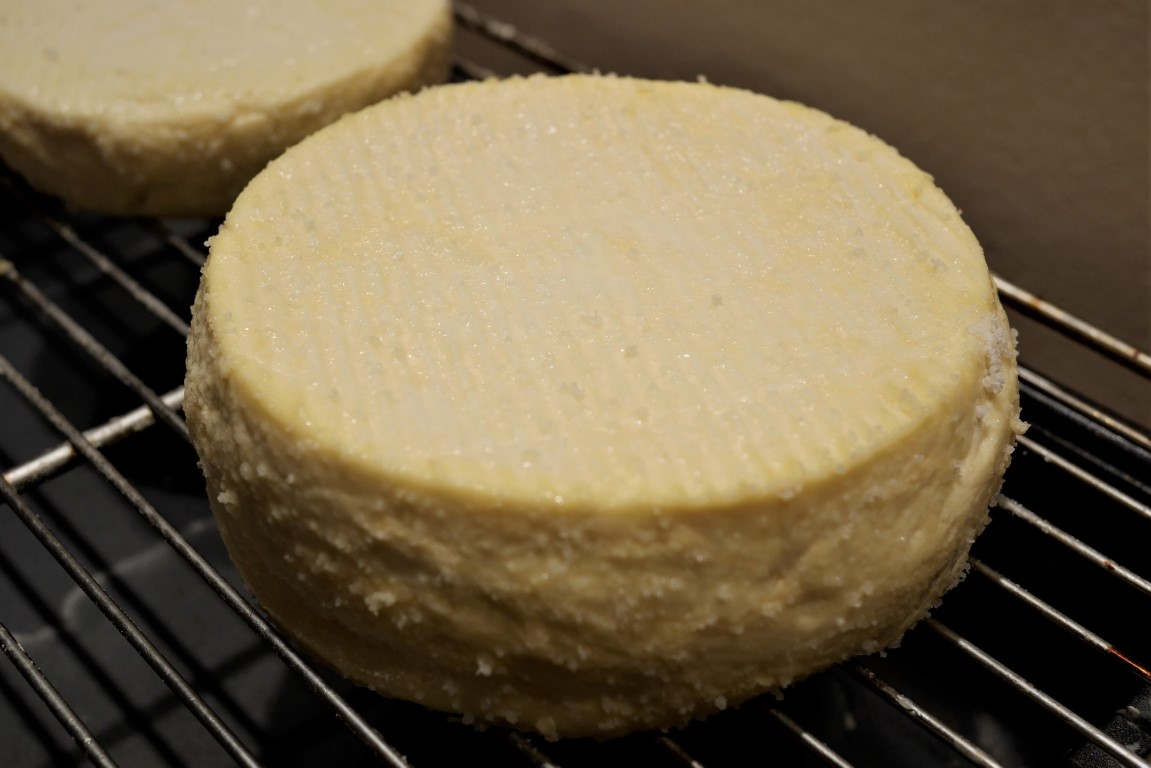 Cheese just after salting.
Continue flipping the cheeses frequently.
+60-72h, Temperature: 14-16°C (cave)
Once the rind is dry, it is time to slow down the fermentation and put them into a cheese cave or a colder environment. I usually set my cheese cave (a small wine cooler) to about 14-16°C. If it is less (but should be higher than 10°C), no worries, it will just take longer to ripen.
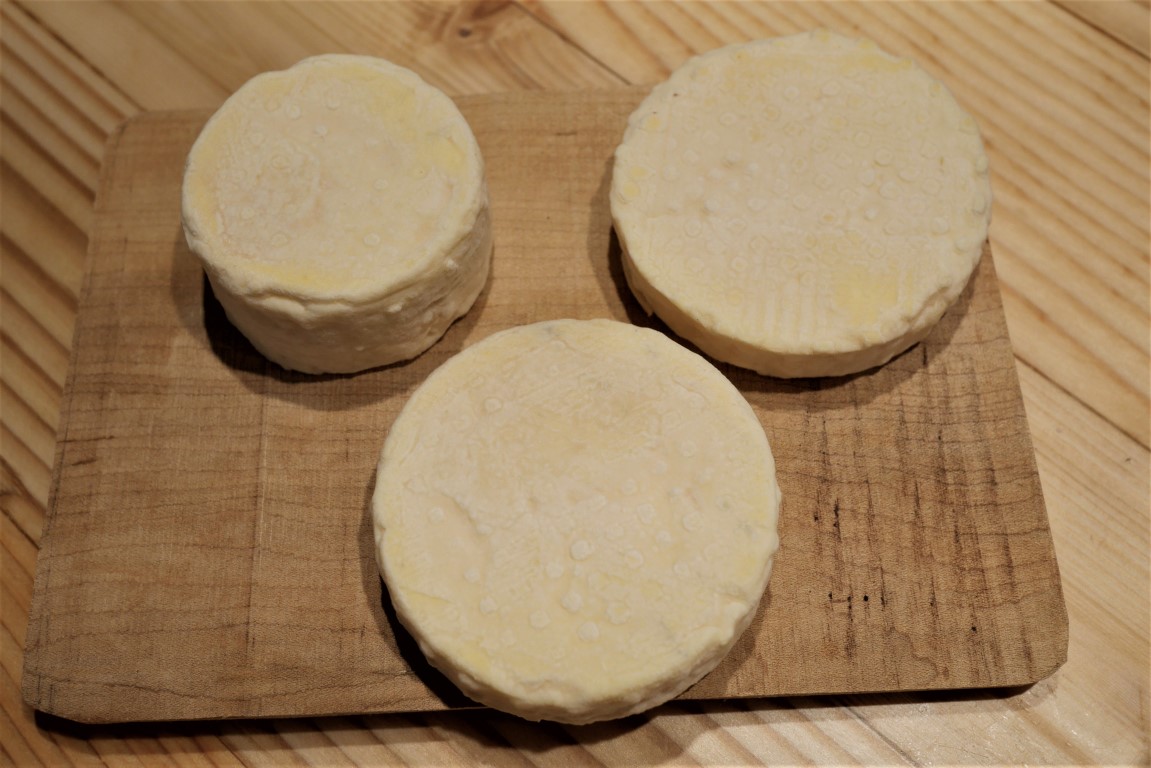
 Top: cheeses drying after salting, the rind is still a bit humid. Bottom: cheeses are drier, ready to ripen.
If you do not have a cheese cave, you can put your cheeses in boxes with a lid. In the first days of ripening, the cheeses are still very humid and will continue releasing a lot of water. Thus I prefer to put them on a bamboo mat raised a bit from the top (with milk bottle lids for instance!), so that the whey can drain and the cheeses keep dry. Do not close the lid fully in the first day, so that some humidity can evacuate.
+60-72h -> +5-10 days, Temperature : 14-16°C (cave)
In the first days of ripening, a lot of humidity will evacuate. Once to twice a day, wipe the water from the box with paper towel or a towel. I prefer to use paper towel as I know it is neutral and will not introduce any unwanted micro-organisms. Check the smell, it should be pleasantly cheesy, not acid, eventually a bit yeasty. Check the aspect, a white dust should start appearing at the surface (this is Geotrichum Candidum). If you have wooden boards, you can put the cheeses on them. That will help better control the humidity level in the boxes and participate to the flavors of the cheese rind.
You can start closing the lid when there is less humidity in the box. In theory you should try to keep a humidity level around 90%, which is very close to saturation.
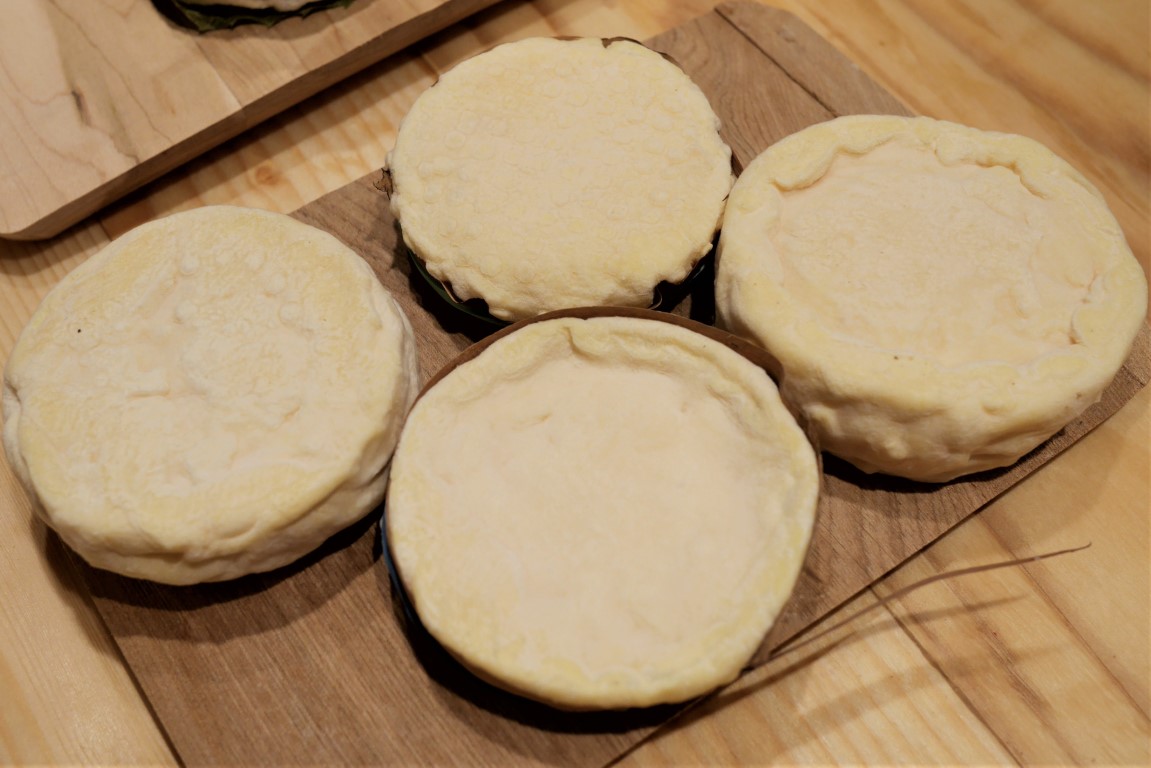
 Cheeses after 7 days from fabrication.
+5-10 days -> +25-40 days, Temperature : ~10°C (cave or fridge)
When the rind is nicely developed, transfer the cheese boxes to a cooler environment to slower the ripening. The cheese will develop more complex flavors if the fermentation is done at colder temperatures.
Continue to wipe the humidity very frequently and flip the cheeses (everyday or the other day).
Do not taste them before 3 weeks. Let them ripen more or less depending on your taste. You can attest how creamy and soft they are by pressing the center with your fingers.
If you prefer a drier texture, open the lid to let them dry more.
If some blue/green mold appears, that’s not a big deal. You can leave it or wipe it gently with a cheesecloth.
 Cheeses after 2 weeks from fabrication.
 Cheeses after 3 weeks from fabrication.
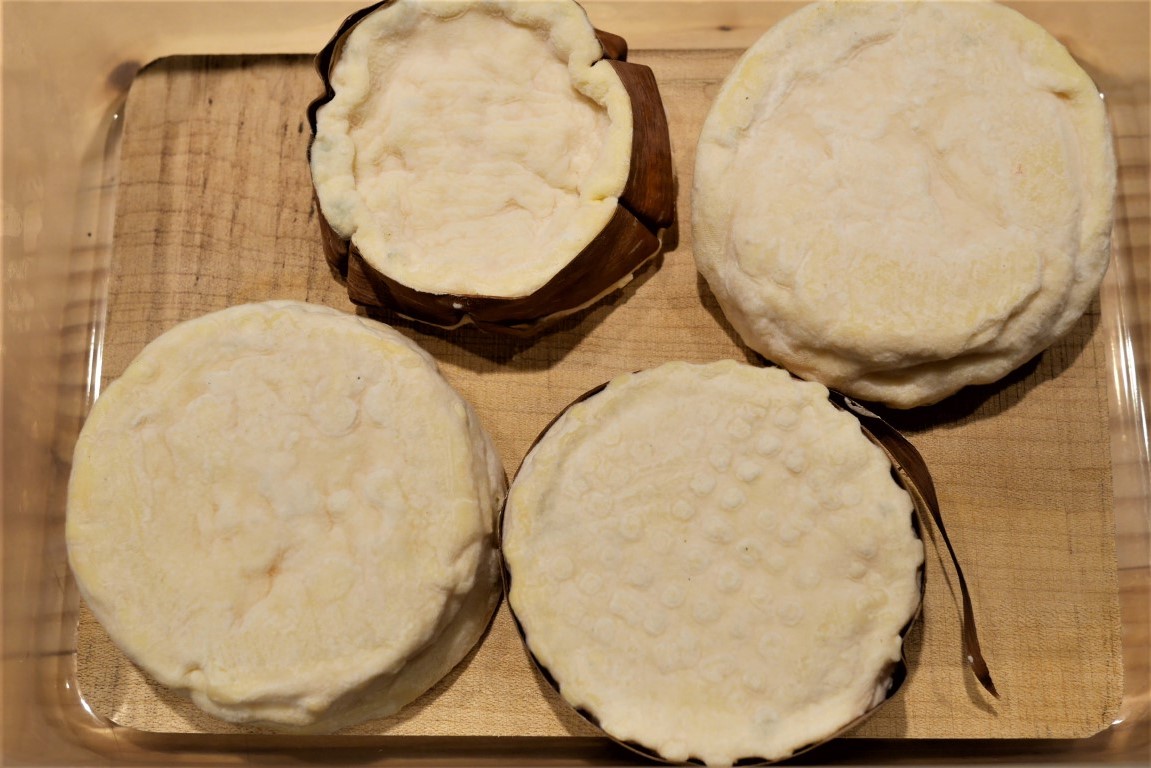
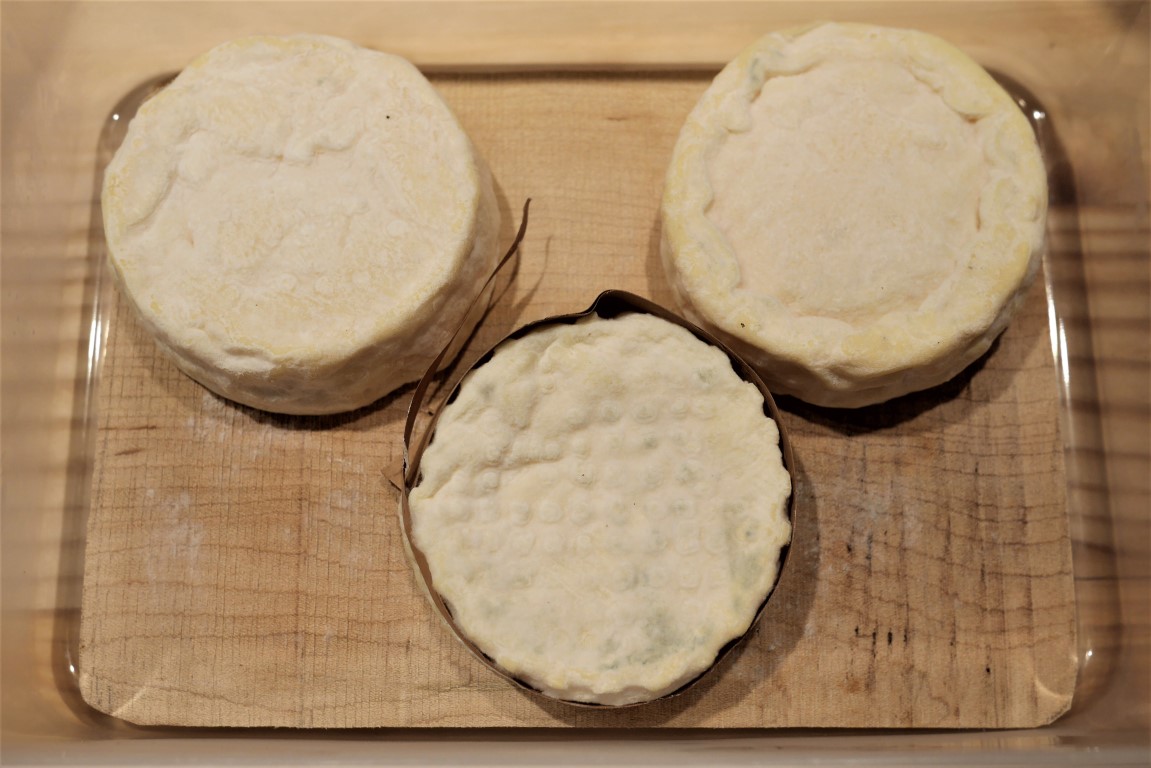 Cheeses after 4 weeks from fabrication.
You can play a lot from this base recipe. For instance you can add bark around the cheese to develop other flavors. Or ripen the cheeses in a drier environment to have a less creamy texture. Use ash to get a grey rind etc…