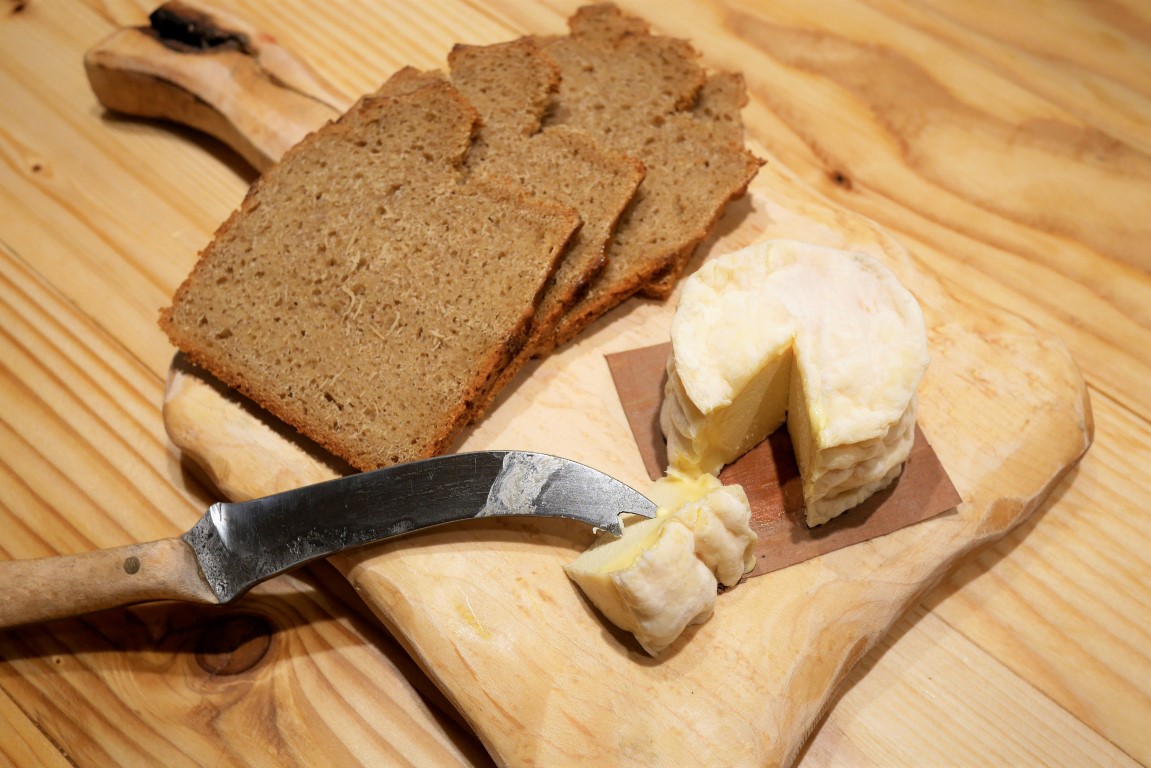
 Crottin-style cheese made for raw cow milk and natural ferments. Beautiful with homemade sourdough bread!
Lactic cheeses are generally made from goat milk. Lactic stands for lactic fermentation. All cheeses always imply lactic fermentation to some extent. But in the case of lactic cheeses, the coagulation from lactic fermentation is more important than the enzymatic coagulation from rennet (more details in this article). The lactic fermentation lasts at least 24h before molding the cheeses, meaning that the pH of the curd gets very low (compared to cheeses like camembert or alpine-style).
A very well-known lactic cheese made from cow milk is Saint-Marcellin, which is a protected geographical designation2(PGD). It is a specialty from the south east of France, close to Lyon and Grenoble. It was originally made from a mix of goat and cow milk at the farm and intended for domestic consumption1. I suspect that this type of cheese was made with milk leftovers, considering the making process and the conservation duration (only a few weeks). Interestingly, this cheeses were also eaten dried and ripened longer.
I cannot name my cheeses Saint-Marcellin but they follow approximately the same process. I made several trials before coming to this recipe. After a few failures I realized how important was the milk and the ferments. Then I adapted the temperature and humidity profiles, as well as the quantity of salt and the material used for ripening the cheeses. Too much salt will slow down or even stop the ripening while too little will result in too fast fermentation. When writing this article I checked the requirements of the PGD for the Saint-Marcellin and I was very surprised and happy to discover that my recipe is very close to it2!
I love this recipe for many reasons:
- it allows me to get raw milk Saint-Marcellin-style cheese that cannot be found in the US
- it is a versatile recipe: it can be used with goat or cow milk, with different types of mold, you can interact them with natural material (ash, leaves, bark)
- it does not need any external and terroir-related micro-organisms (like mucor for Saint-Nectaire or penicillium roqueforti for blue cheese)
- it is adapted to home cheesemaking as it produces small cheeses that you can eat at different stages and that does not need long ripening
The keys of success
- use good non-homogenized milk
- use an active starter culture
- care for your ripening setting (avoid plastic and putrescible materials)
- trust your smell and your vision
Ingredients - 4-5 small cheeses
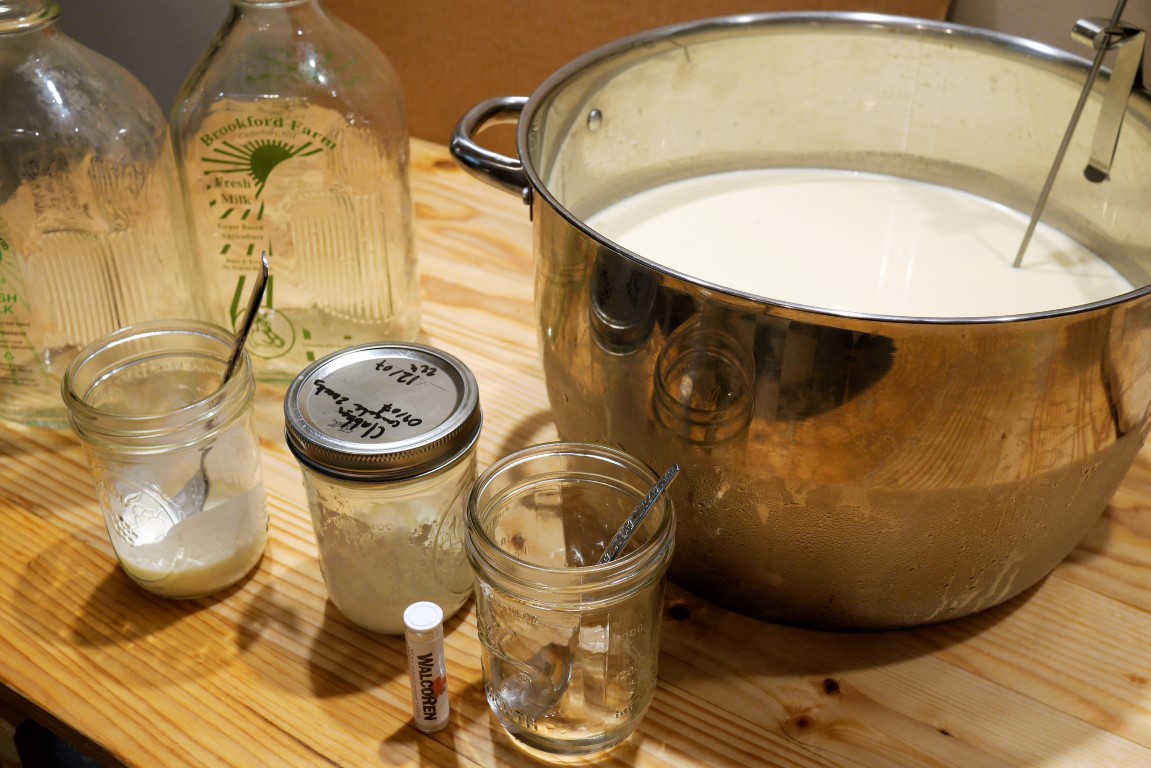
- 4L of milk, preferably the freshest raw milk (non-homogenized at least)
- 30ml of kefir, or 30ml of clabber, or whey from a previous batch of cheese, or other cheese culture
- 1/4 tablet of Walcoren rennet, crushed and diluted in about 30ml of cold water wihtout chlorine (to decrease the chlorine contained in tap water just shake it and leave it rest for a while)
- 10g of fine-grained salt (preferably sea salt, and without any additive)
Material
- a big pot, marmite
- a laddle
- cheese molds
- grid and platter for draining the curd and receive the whey
For ripening
- boxes with lid
- sushi mats or wooden boards or other plastic mats
- surface to leave the cheese on (leaf, bark, … be creative!), otherwise it may be difficult to move and leak…
More details about material.
Duration
- ~24h to ferment and curd
- ~24h to drain in molds
- ~24h to drain after salting
- 2-6 weeks for ripening (depending on your taste and patience!)
Method
Timings are subject to change depending on your material, the quality of your ingredients, the temperature and humidity. Take care of using well-cleaned material (use white vinegar, rinse with clear water and keep it dry in the open air). Wash your hands too!
0h -> ~+24h, Temperature : ~30°C to room temperature
1.Pour the milk in the pot and let it warm up very gently until it reaches ~30°C. Add the ferments. Stirr well from bottom to top. Wait about 1h.
2.Add the rennet. Stirr well again. Let stand at room temperature and forget about it for about 24h (try not to move it, in order not to break the curd). If your room temperature is above 26-28°C, you may have to let it ferment less longer (~14-16h is probably enough).
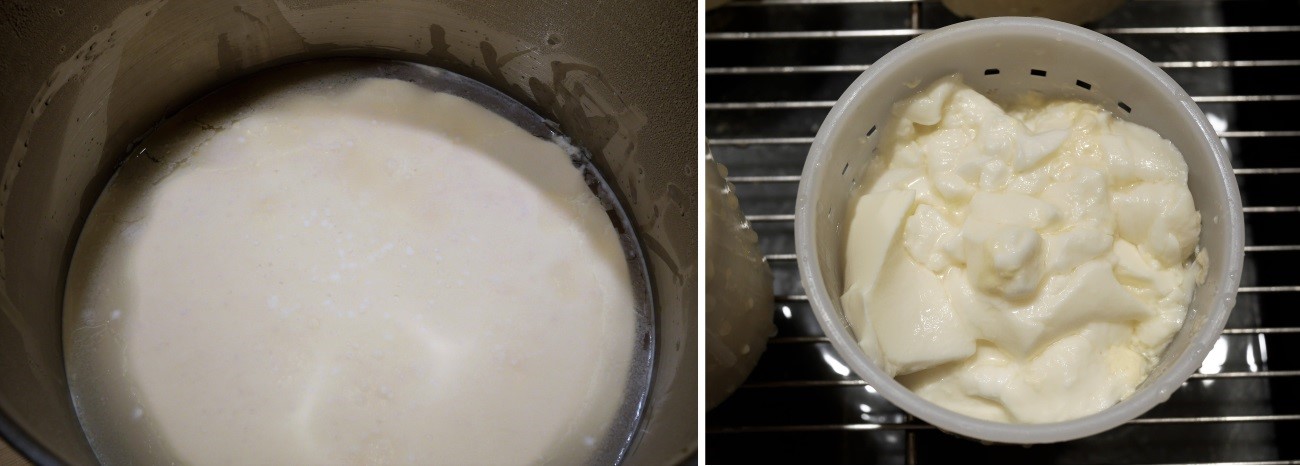 Curd after 24h of fermentation. Curd freshly molded.
~+24h -> ~+28h, Temperature : room temperature
The curd should have sunk at the bottom of the pot, covered by whey. The whey should be covered by a very fine layer of white yeast (this is Geotrichum Candidum, responsible for many cheese rinds). It is time to mold the cheeses. Saint-Marcellin, crottin, pick your favorite shape! Prepare 4-5 cheese molds, that you can put on a pastry grid over a platter (to receive the whey).
Then laddle the curd in the molds. Fill the molds, wait for a while and fill them again. You are going to be amazed by how much whey is going to drain. You can press a little bit the top to make it flat but it is not mandatory. Cover with a linen or a cheesecloth, to avoid flies to settle in. Let it drain.
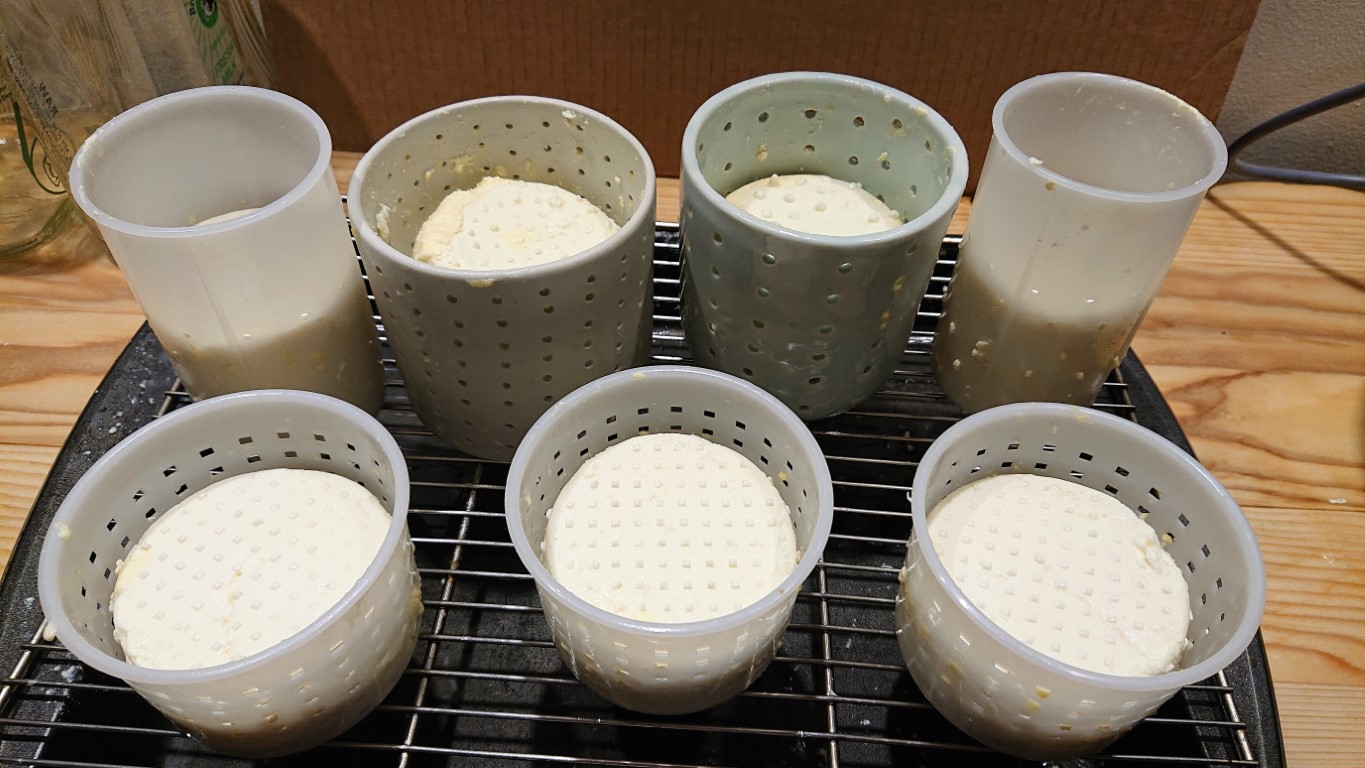
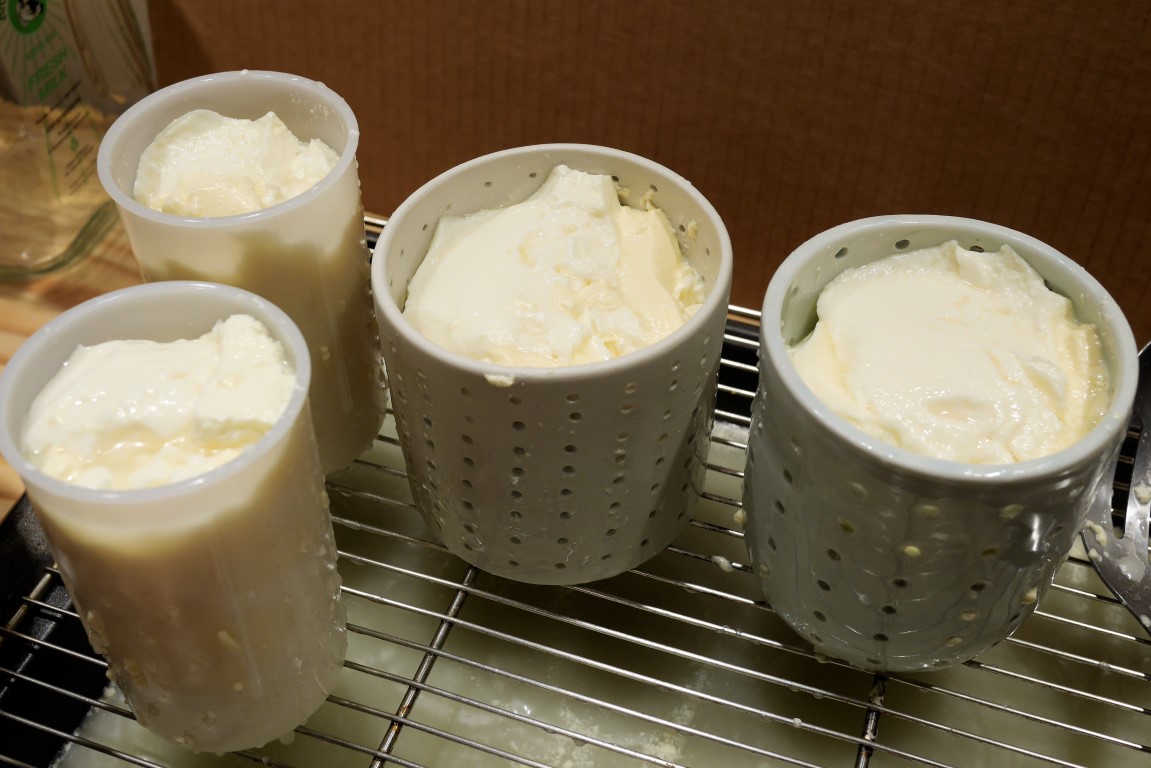 Curd freshly molded in molds of different sizes. Crottins molds on the left, ceramic Saint-Marcellin on the right.
Do not throw away the whey! You can make ricotte, use it in pancakes or bread dough or even water your plants (they will regenerate!).
~+28h -> ~+48h, Temperature : room temperature
The curd should have drained enough so that you can flip the cheeses in their molds. Let the cheese slide from the mold to your hand, flip it and put the mold on top and flip the mold. Be very careful, the cheeses are still fragile. If you went to bed after moulding, no worries, this step can wait. You can flip the cheeses a few times in their molds for the next 24h. This will make the shape more uniform and drain water more homogeneously.
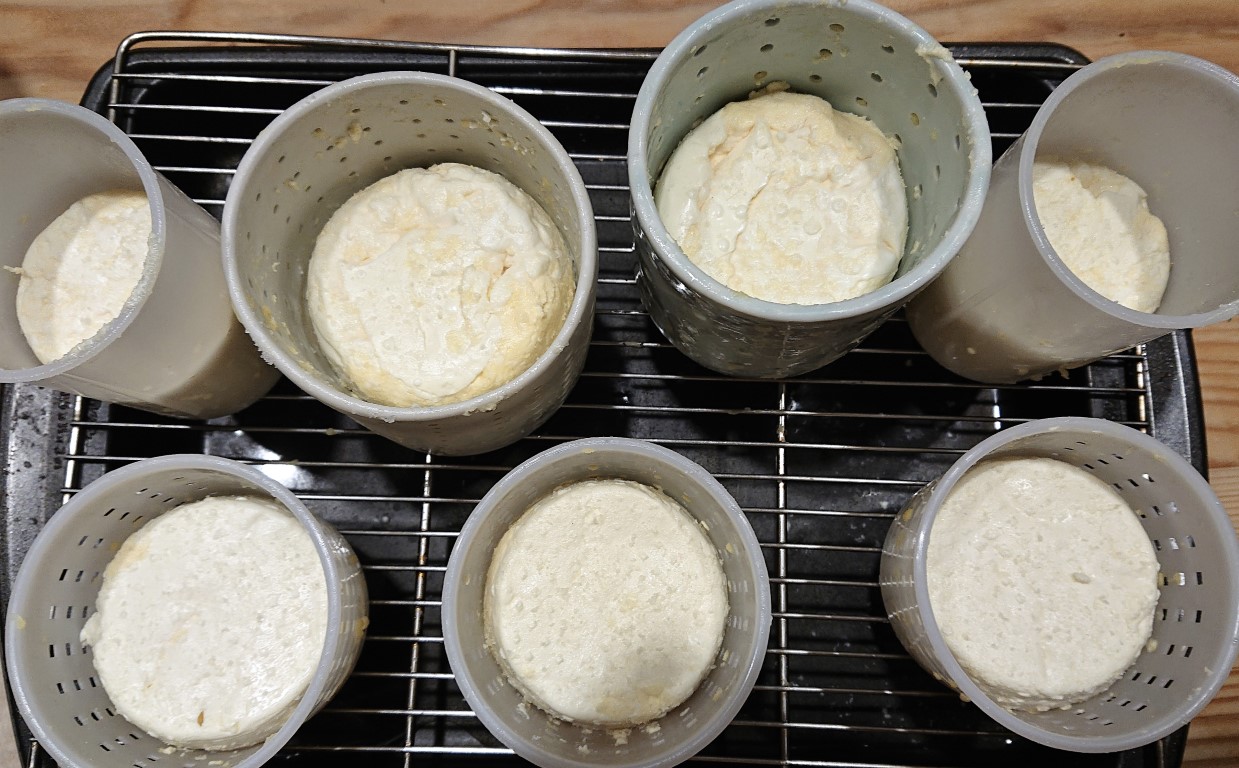
 Cheeses just after first flip in the molds.
~+48h -> ~+60-72h, Temperature: room temperature
The cheeses should now be well shaped, still humid. It is time to salt them. Salt will slow down the rind ripening, help extract more whey and will also give better flavor to the cheese. Measure 10g of salt and use it to salt all the cheeses. Take the cheeses in one hand, dust a bit of salt on the first face, spread with the fingers. Do the same on the sides and on the other face. Put the cheese back in the mold (if your kitchen is dry) or directly on a grid or sushi mat. Let the cheeses dry for another 12-24h (depending on your room temperature).
 Cheeses just after salting.
+60-72h, Temperature: 14-16°C (cave)
The cheeses should start developing a very thin yeasty and sticky layer on top (it can be hard to see for a non-exercised eye, try different angles of light). That’s very good sign! They start ripening!
 Cheeses ready to got to the cave.
It is time now to slow down the fermentation and put them into a cheese cave or a colder environment. I usually set my cheese cave (a small wine cooler) to about 14-16°C. If it is less (but should be higher than 10°C), no worries, it will just take longer to ripen.
For ripening, put your cheeses on a small piece of cheese paper, wax paper or any other natural flat material like leaves or bark. I personally love birch bark that I collect in the forest during winter. It is easy to collect, easy to keep and very convenient to use. I just cut squares to the right size with a pair of scissors. It also gives a good taste to the cheese, but not too strong either. Then I put the cheeses and their support on wooden boards (maple, spruce, pine are perfect, they should not be planed but let raw).
And I put the boards in plastic boxes. This helps keep the humidity to a high level (the wine cooler would be too dry) and helps also move the cheeses easily. I put a lid on the plastic box but leave it slightly open in the first days so that some humidity can evacuate.
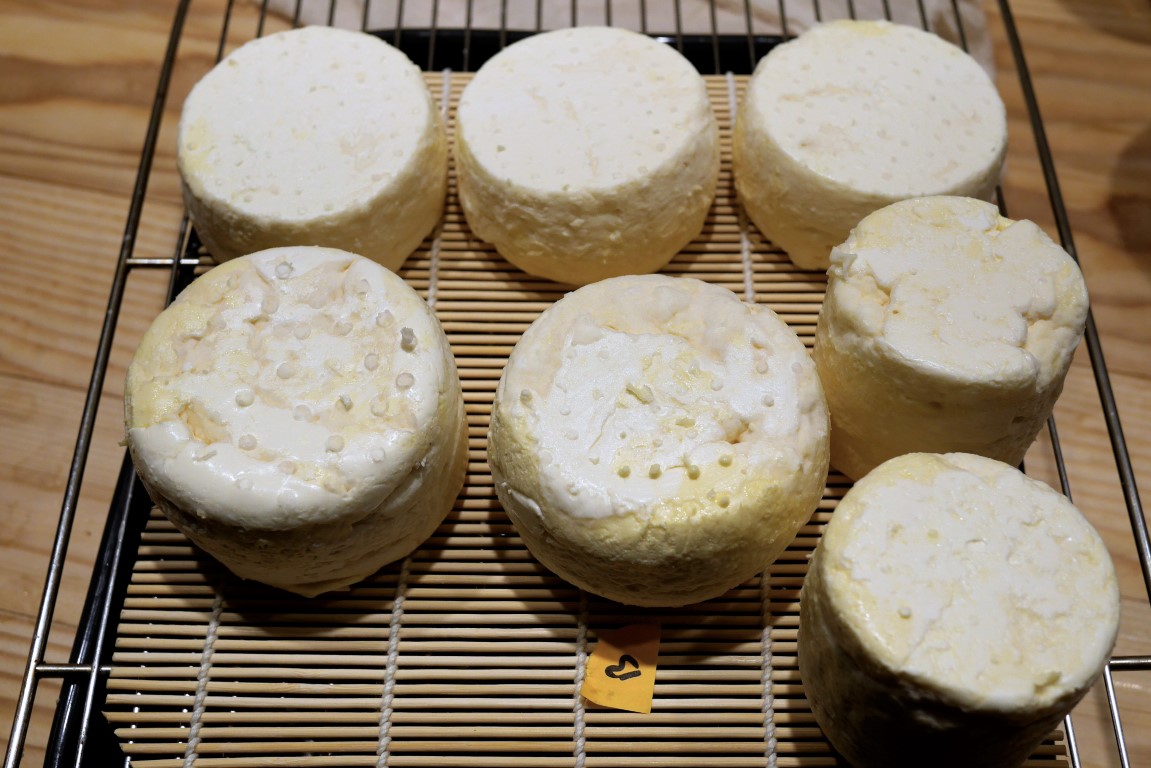
 Cheeses after 3 days from fabrication, put on birch bark and wooden boards. We see a slight layer of yeast Geotrichum Candidum appearing at the surface.
+60-72h -> +5-10 days, Temperature : 14-16°C (cave)
In the first days of ripening, a lot of humidity will evacuate. Twice a day, wipe the water from the box with paper towel or a towel. I prefer to use paper towel as I know it is neutral and will not introduce any unwanted micro-organisms. Check the smell, it should be pleasantly cheesy, not acid, more on the lactic side. Check the aspect, small wrinkles should start appearing at the surface.
 Cheeses after 9 days from fabrication.
+5-10 days -> +15-40 days, Temperature : ~10°C (cave or fridge)
When the wrinkles start being serious, tranfer the cheese boxes to a cooler environment. You can start savor them if you like it on the fresh side. Or you can wait longer if you are more on the runny side (as a proper Saint Marcellin)! Remove humidity from the boxes regularly and check if they are evolving normally.
You can also let them dry. They will take a stronger goaty taste that is delightful.
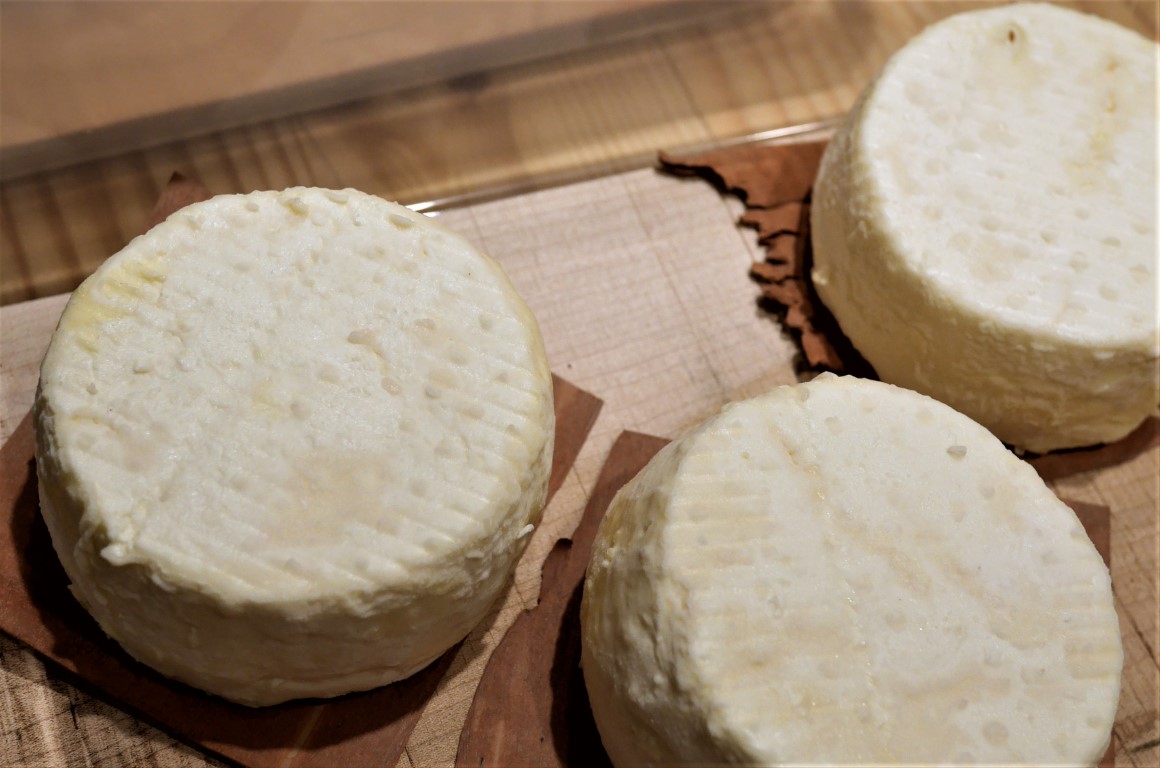
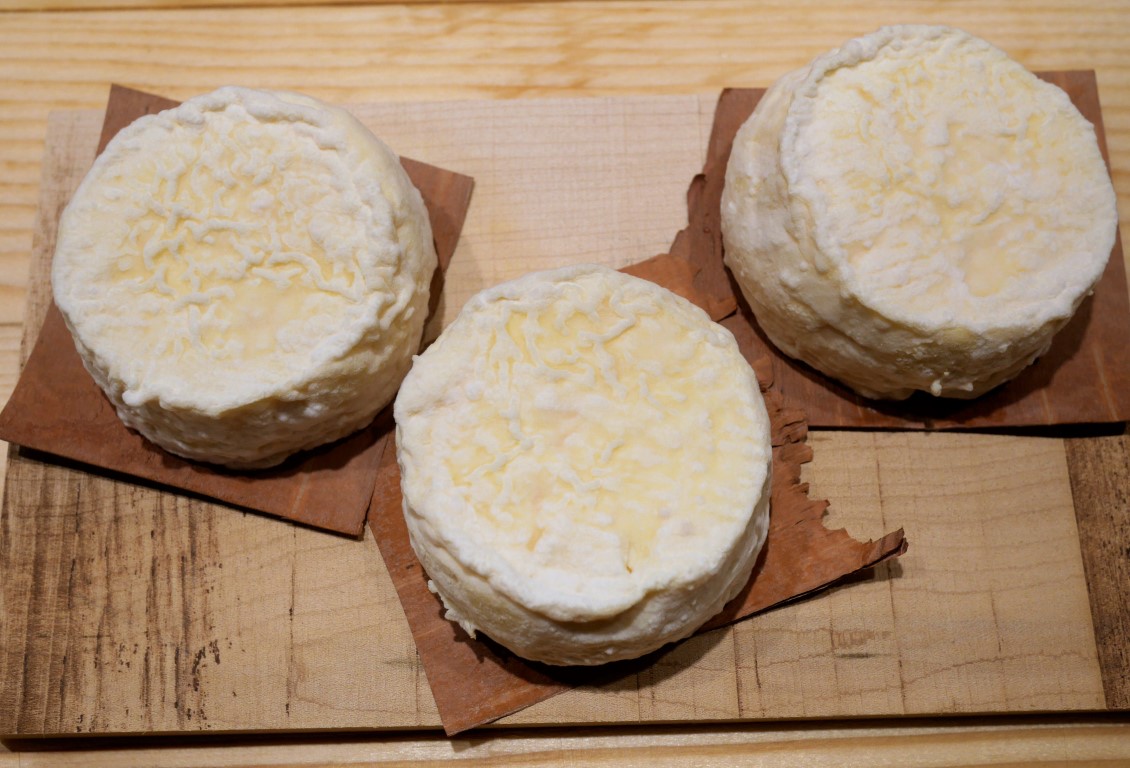 Cheeses after 14 days from fabrication.
 After 14 days you can start eating them, but they will taste more like a fresh cheese.
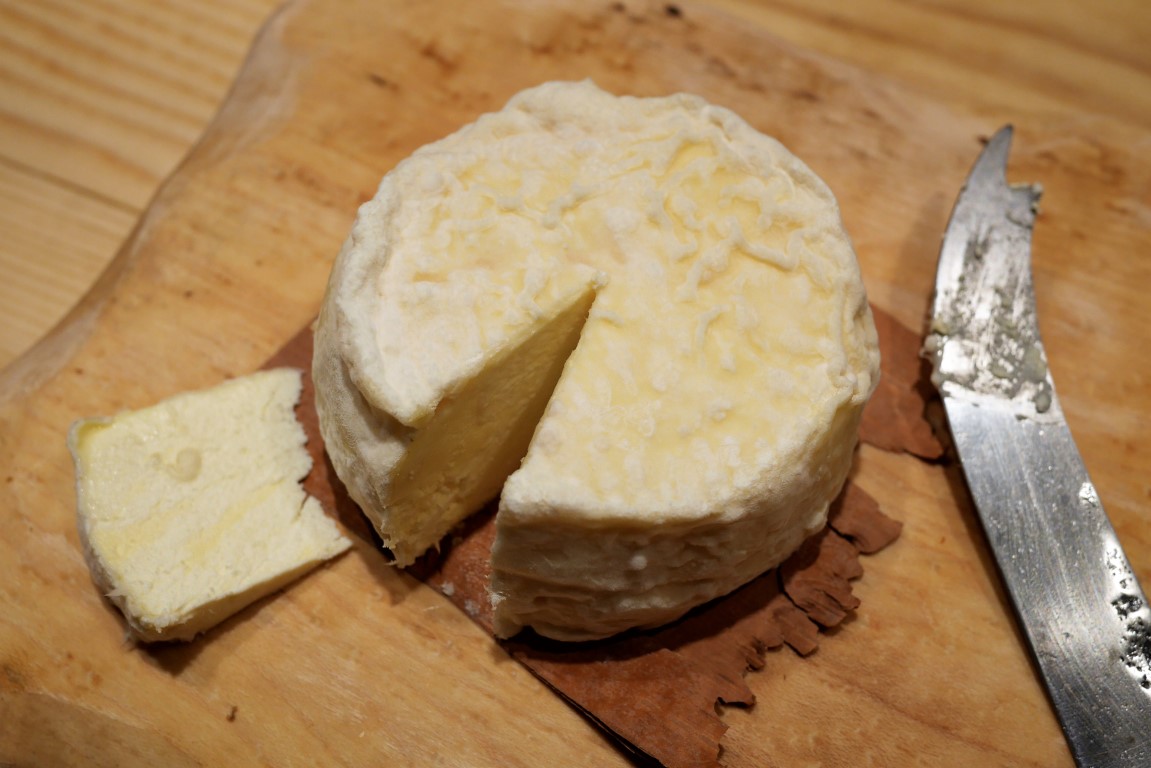
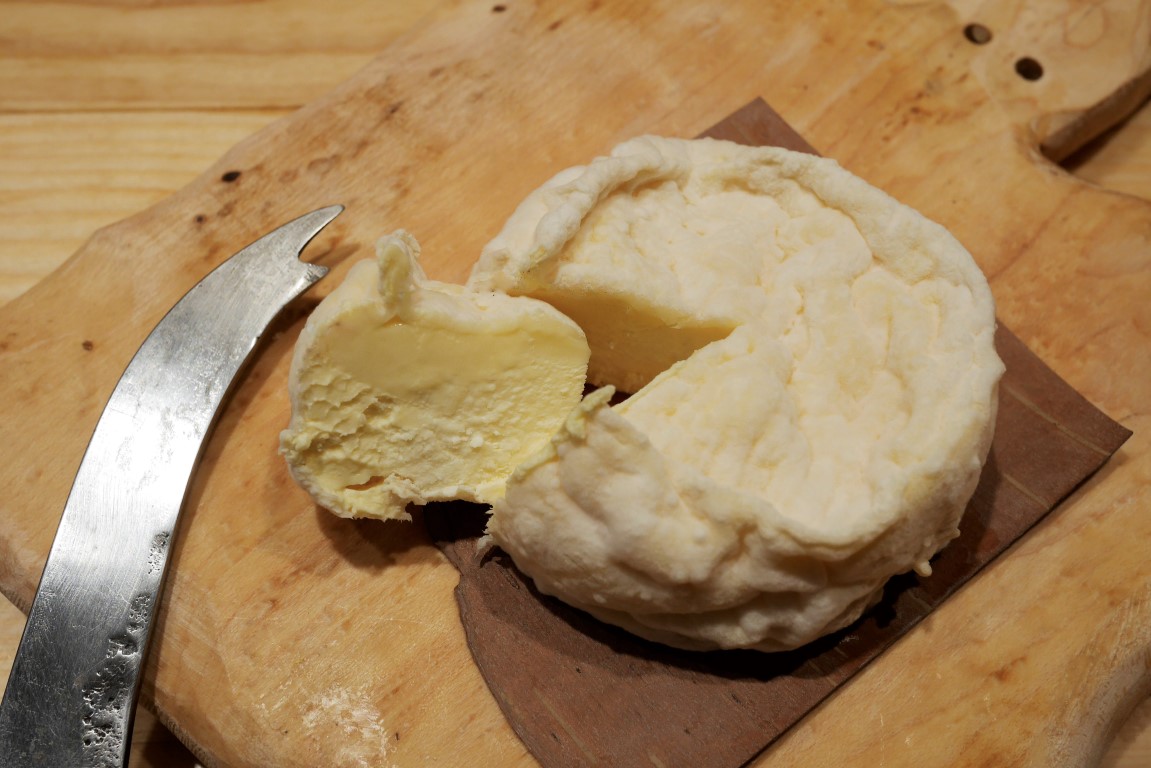 After 35 days, it is now fluffy, runny and stronger.