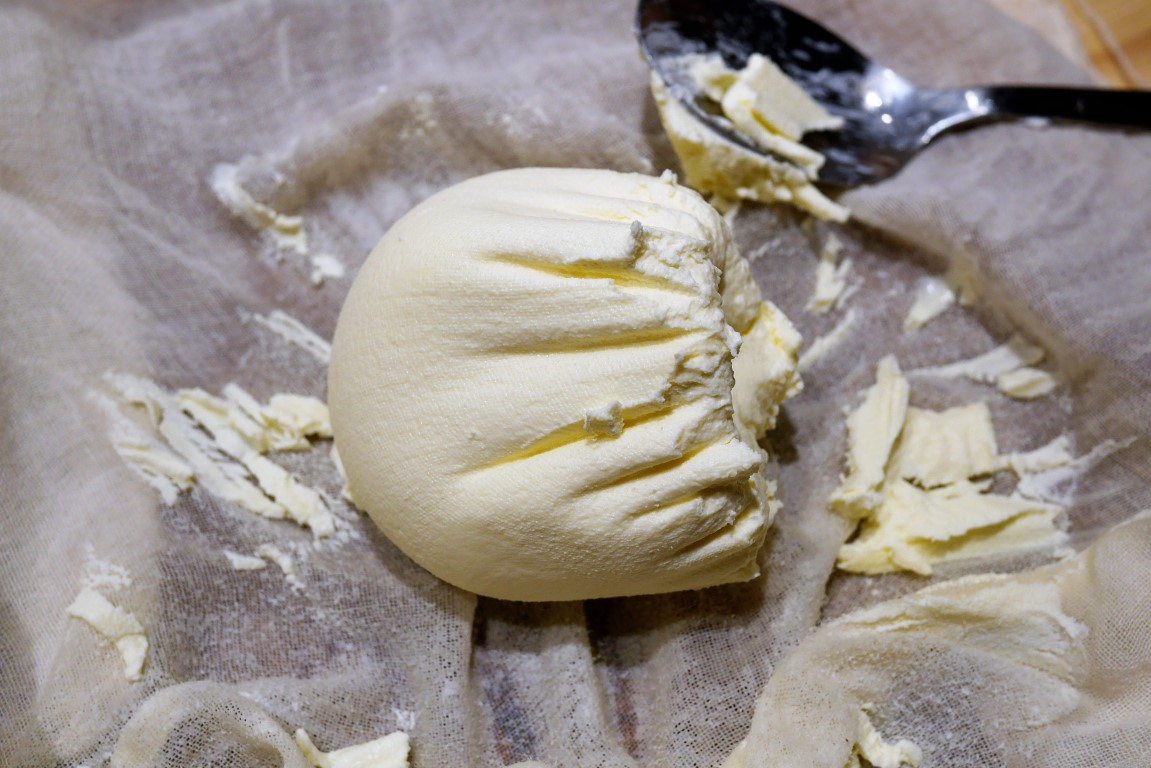
 Homemade cream cheese, ready to eat
Cream cheese is a very popular dairy product in the US. It is basically made from milk and cream. But if you look carefully to your favorite cream cheese brand you may see other ingredients as carob bean gum or carrageenan. Those are thickening ingredients that are added by industry manufacturers to get more stabilized products and extend its shelf life.
Recipes of cream cheese were already mentionned in the 16th century1. At that time there were no question of adding any thickening ingredient. These type of fresh cheese was meant to be eaten at the farm and in a few days. If they could do their cream cheese at home several centuries at home, why could not we?
Cream cheese is made of heavy cream, milk and ferments. Milk and cream are mixed together with a starter culture and let to ferment for several hours. The ferments are naturally thickening the mixture. It is then put into a muslin and let to drain for a few hours. The water content is expelled. Then, salt is added for conservation and to remove further water. A few hours later it is ready to eat!
So simple, so good!
Ingredients
For about 150g of cream cheese:
- 140g of heavy cream (freshest as possible, check the best-buy date)
- 300g of milk (it works with raw and pasteurized milk)
- 5ml (or a small spoon) of fermented milk (clabber, kefir or buttermilk)
- 1g of salt
Material
- a bowl
- a muslin
Duration
~10min of preparation in total, ~24h of wait
Recipe
1.Be sure that your ferment is active (feed it about 12h-24h before using). Mix the milk and the cream with the ferment in a bowl or glass jar.
2.Let it covered at room temperature during about 10h (if room temperature is ~25°C). The cream will thicken slowlier if the temperature is lower. If so, wait longer.
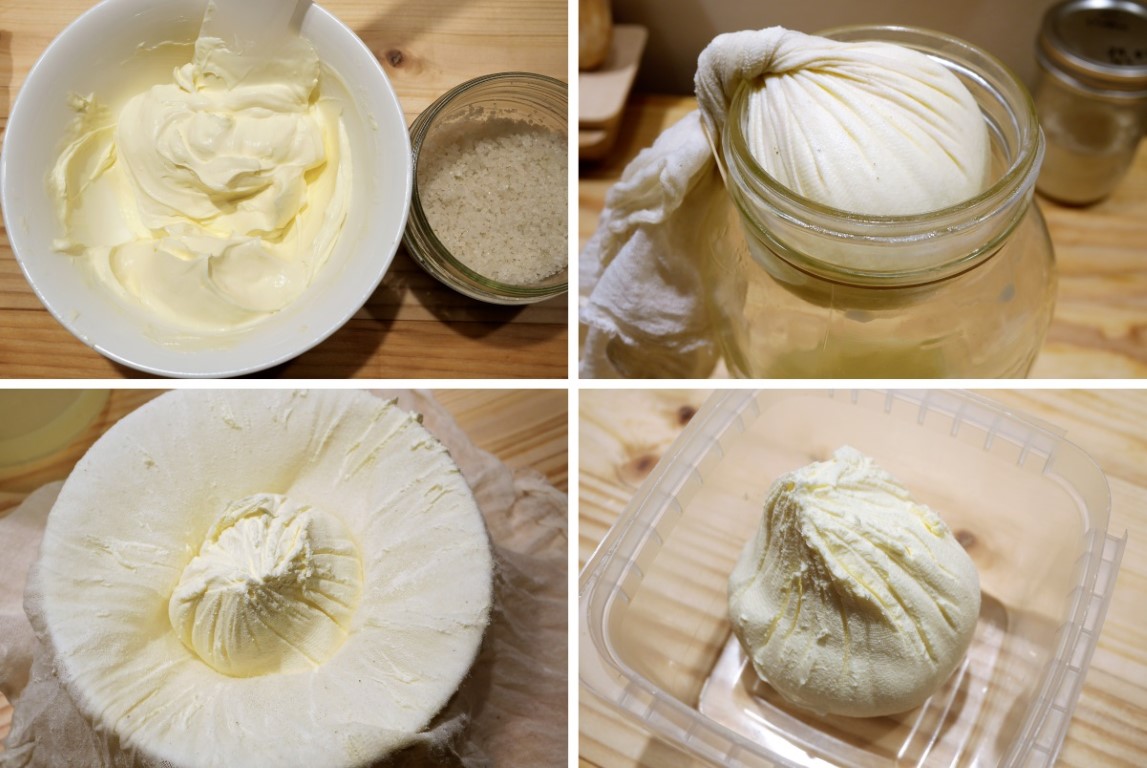
 Top left: milk+cream fermented, ready. Bottom left: mixture poured in muslin. Top right: mixture in muslin let to drain in a big jar.
Bottom right: the mixture is ready to be mixed with salt.
Top left: milk+cream fermented, ready. Bottom left: mixture poured in muslin. Top right: mixture in muslin let to drain in a big jar.
Bottom right: the mixture is ready to be mixed with salt.
3.When it is ready, pour to a muslin and let drain in your fridge (to slow down fermentation) for several hours. I use a big jar with an elastic band, I find it very convenient. You can also use a colander or equivalent.
4.There should be very clear whey in the bottom of your containerand water has stopped dripping. The mixture is very creamy, like very thick sour cream. Then mix with salt, pour into the muslin again and let drain one more time for several hours.
 Top left: mix with salt. Top right: let drain again for a few hours. Bottom left: cream cheese is ready. Bottom right: store in a container in your fridge.
5.Remove from the muslin, store in a container in your fridge.
6.It is ready to eat! Delicious on bread.
Tip: use the whey to water your plants!
References
[1] Cream cheese, Wikipedia