Most of cheeses made from cow milk start with the same steps with a few variants. It is the case for most soft, semi-hard and hard cheeses. The milk is let to curdle using rennet (traditionnally animal enzymes extracted from calf stomach, vegetable rennet also exist). Please refer to the introduction page for basic explanations about the cheese making process.
Making cheese curd with rennet is done in three main steps:
- Warm up the milk and starter
- Add rennet and let the milk coagulate
- Cut/mold the curd to expel whey
In the first step the acid lactic fermentation starts the coagulation process (by acidification). Then, rennet is added (generally chymosin enzymes) and the enzymatic process starts. Both the acid lactic fermentation and the enzymatic process help structuring the proteins in a gel (the curd). But both reactions have different effects on the structure depending on their relative importance. The structure of the curd produced mostly by enzymatic process has a tendency to retain water (the lactoserum, also called whey). It has low draining properties (contrary to direct acid fermentation). Physical action is thus needed to expel the whey, like cutting, stirring, pressing or increasing the temperature.
The more physical actions applied to the curd, the more water content is expelled. For soft cheeses these actions are limited, while for semi-hard and hard cheeses these actions are more important. For instance, to make traditional camembert, the curd is not even cut but directly added to the mold with a ladle in 5 times. On the contrary, to make tomme or alpine-style cheese, the curd is cut into very small pieces (~3mm size), cooked up to 50°C and then pressed into the mold for several hours.
Ingredients
- 4L of milk
- 30ml of kefir (or other starter culture)
- 1/4 to 1/2 tablets of Walcoren rennet, crushed and diluted in about 30ml of cold water wihtout chlorine (to decrease the chlorine contained in tap water just shake it and leave it rest for a while)
Material
- a big pan with a thick bottom (to keep the milk warm)
- a way of warming up the pan and keep a constant temperature (ring with diffuser, or a big basin of warm water)
- thermometer
- a knife or a spatula to cut the curd
For more details about the material.
Duration
2-4h until draining, depending on type of cheese you want to make from the curd
Method
Timings are subject to change depending on your material and the quality of your ingredients. Take care of using well-cleaned material (use white vinegar, rinse with clear water and keep it dry in the open air). Wash your hands too!
Time : 00:00
Pour the milk into the pan and let it warm up very gently until it reaches 32°C. If you use a gaz ring with a diffuser, take into account the intertia of the diffuser.
Time : 00:30, Temperature : 32°C
Add the starter culture or the kefir. Stir together from bottom to top and for at least 2 minutes. Leave it ferment for about 1h. Keep the temperature to 32°C. You can put a lid on the pan to keep it warm.
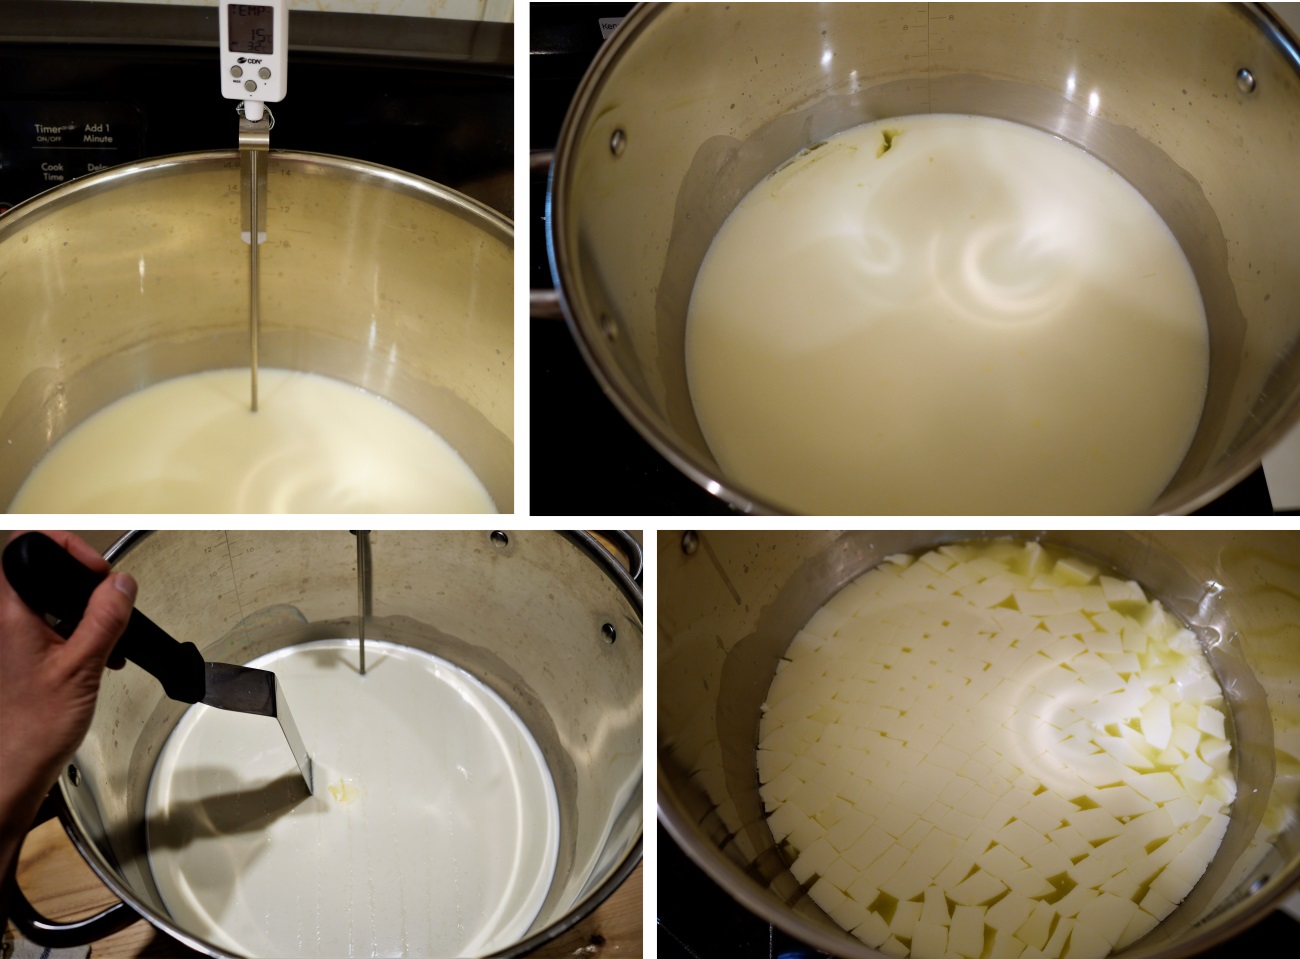 The milk is warmed up (top left), rennet is added and the milk coagulates (top right), the curd is cut (bottom left), the curd is let to rest so that the whey expels (bottom right).
Time : 01:30, Temperature : 32°C
The milk has started to ferment. You can now add the rennet. Pour gently and for at least 2 minutes so that it is well homogenized. Try not moving the pan after that step, so that the milk coagulates well.
The rennet will allow the milk to coagulate rapidly (more rapidly than how the milk would naturally). Given the milk quantity, its freshness and the amount of rennet, the milk is going to coagulate more or less rapidly. Try to always use the same milk to increase the chance of reproductibility and to know the best dosage of rennet. With pasteurized milk I generally use 1/4 tablet of Walcoren for 2L of milk . It is more than the recommendations of the manufacturer but I noticed that the curd was firmer with this quantity.
Time : ~02:00, Temperature: 32°C
The milk has now started to coagulate. If you move a little the pan you should see it shaking slightly like a panna cotta. Check that the curd is ready with the following test: put your finger in the curd with an angle of 45 degrees and go up to cut the curd. If the cut is clear then the curd is ready. Otherwise wait for another 10-15 minutes and do the test again.
Time : ~02:30, Temperature : 32°C
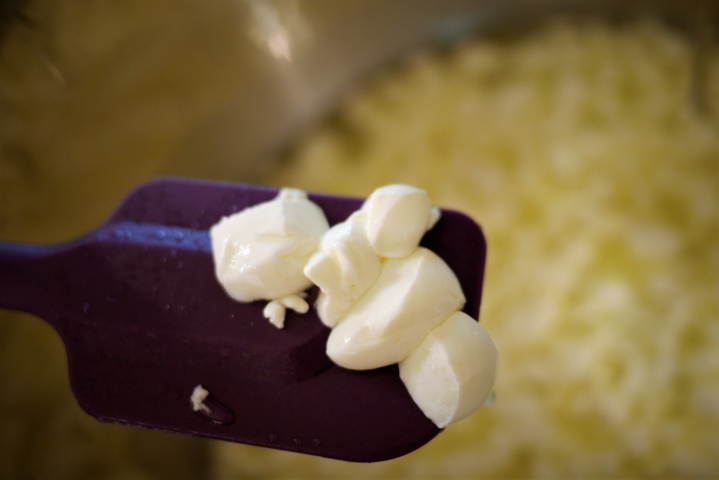
It is now time to cut the curd. Use a knife or a spatula to cut vertical strips of 1-2cm wide. If there is more than 2cm depth of curd you can use a wire to cut the curd horizontally. Try to cut the curd uniformly, this will help having homogeneous humidity of the curd. After cutting the curd, let it rest for 10 minutes.
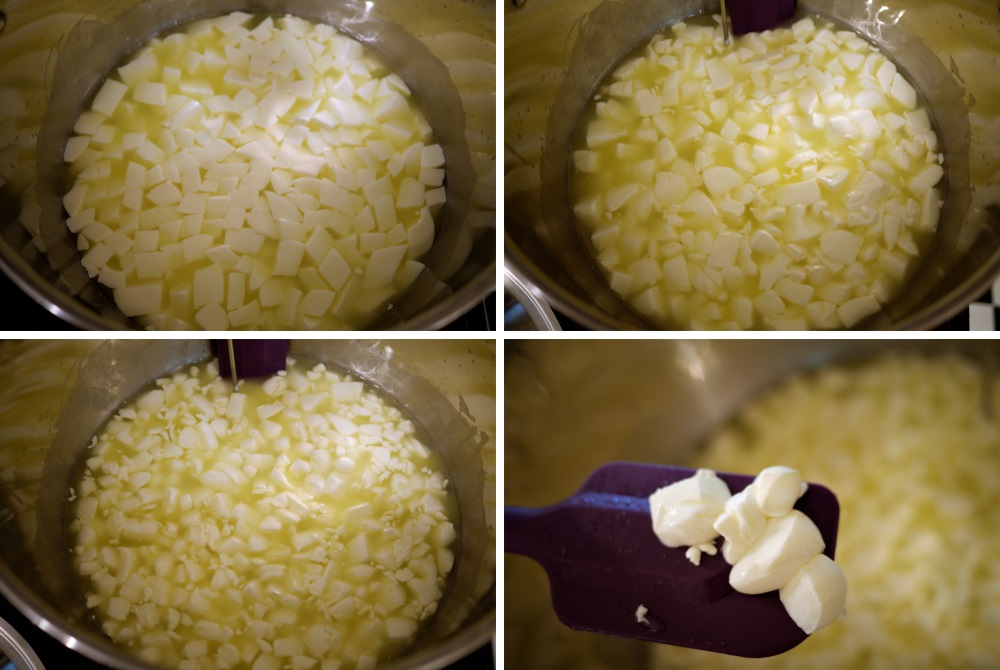 Stirring and resting alternate to let the whey expel and let the curd firm up.
Time: ~2:40, Temperature 32°C
Stir a little the curd very gently, being careful not to break the curd (it is very fragile at this step). Stirring helps expelling the whey. Let then rest for another 10 minutes. Repeat these steps until the curd shrinks and gets firmer. It can take 1 to 2 hours depending on the quality of the milk and also on the type of moisture you need for your cheese. Keep the temperature around 32°C. You can also raise the temperature a little up to 35-36°C to accelerate the process. It is ready when the curd gets a bit stretchy (same consistency as poched egg) and it falls to the bottom of the pan.
Time : ~3:30
It is now time to mold your cheese!